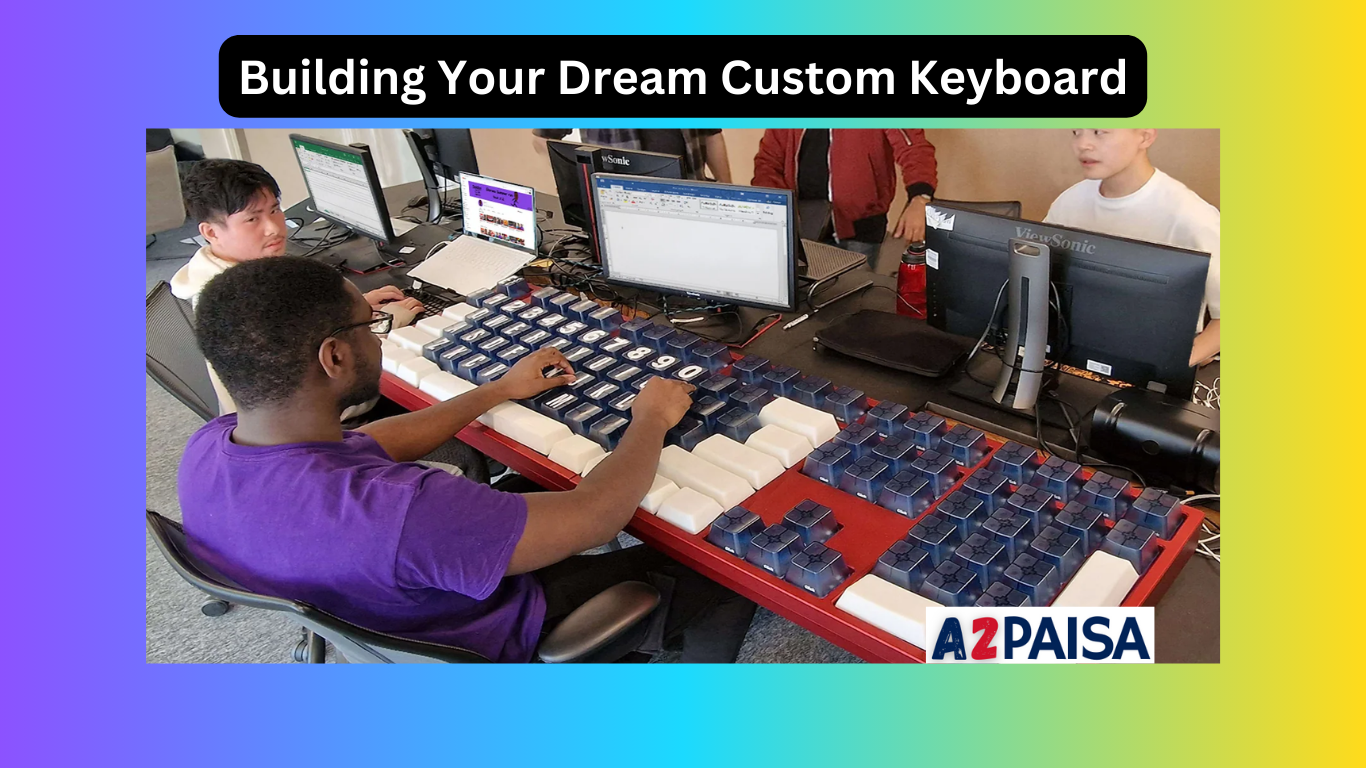
Custom Keyboard: The world of keyboards is vast and fascinating, and within it lies a thriving community of enthusiasts dedicated to crafting their perfect typing experience: custom mechanical keyboards. But for the uninitiated, the thought of building your own keyboard can seem daunting. Fear not, aspiring typist! This guide will shed light on the exciting process, breaking it down into simple steps and providing essential information to help you navigate the world of custom keyboards.
Why Go for a Custom keyboard?
Before diving in, let’s explore the allure of custom keyboards. It’s not just about aesthetics (although, let’s be honest, those colorful keycaps are pretty sweet). Here’s what sets them apart:
- Unmatched Typing Experience: Experiment with different switches, keycaps, and layouts to find the perfect combination for your typing style and sound preference.
- Ergonomics and Comfort: Reduce fatigue with ergonomic designs and customize the keyboard layout for maximum comfort.
- Uniqueness and Expression: Design a keyboard that reflects your personality and style with endless customization options.
The clickety-clack of a mechanical keyboard is music to a typist’s ears. But why settle for a generic melody when you can compose your own masterpiece? Building a custom keyboard lets you personalize everything, from the feel of the keys to the sound they make, creating an instrument that perfectly reflects your style and preferences.
This guide will equip you with the knowledge and confidence to embark on your custom keyboard-building journey, even if you’re a complete beginner. So, grab your soldering iron (metaphorically, for now), and let’s dive in!
Step 1: Planning Your Masterpiece: Custom Keyboard
Before diving headfirst into parts, take a moment to envision your ideal keyboard. Ask yourself:
- Layout: Full-size, tenkeyless (TKL), or compact? Consider your desk space and typing needs.
- Switches: Clicky, tactile, or linear? Each offers a unique typing experience and sound profile. Research popular options like Cherry MX, Gateron, or Kailh.
- Case: Plastic, aluminum, or even wood? Consider durability, aesthetics, and weight.
- Keycaps: Your keyboard’s visual centerpiece! Explore various materials, profiles, and printing methods to match your style.
- Stabilizers: These ensure larger keys like Enter and Spacebar move smoothly. Choose plate-mounted or screw-in based on your compatibility.
Step 2: Gathering the Instruments: Custom Keyboard
Now it’s time to shop! Here’s your essential equipment list:
- Keyboard kit: This pre-bundled package often includes a case, plate, and PCB (Printed Circuit Board). Choose one compatible with your desired layout and switches.
- Switches: Purchase enough for your chosen layout (standard keyboards have 87-108 keys). Consider buying extras for testing and future customization.
- Keycaps: Select a full set compatible with your chosen switches and layout.
- Stabilizers: Choose the type based on your keyboard kit compatibility.
- Switch opener (optional): This facilitates switch lubrication, a popular customization for smoother typing.
- Lube (optional): Improves switch feel and sound; research compatible lubes for your chosen switches.
- Soldering iron and solder (optional): Needed if your PCB requires manual switch installation.
- Screwdriver and tools: Specific tools depend on your keyboard kit.
Step 3: The Assembly Symphony: Custom Keyboard
With your tools gathered, it’s time to build! Consult your keyboard kit’s instructions for specific steps, but here’s a general overview:
- Prepare the PCB: If required, solder the switches onto the PCB. This step demands precision and practice, so consider starting with a pre-soldered kit if you’re unsure.
- Mount the switches: Carefully press each switch into the plate, ensuring they click into place securely.
- Install stabilizers: Secure the larger key stabilizers according to your chosen type (plate-mounted or screw-in).
- Attach the plate: Screw the plate onto the PCB, ensuring all switches are aligned and functional.
- Add the keycaps: Snap the keycaps onto the corresponding switches, enjoying the satisfying click as each one finds its home.
Step 4: Fine-Tuning Your Creation: Custom Keyboard
Your keyboard is almost complete! Now comes the personalization:
- Lubing: If desired, apply lube to the switches for a smoother typing experience. Research proper techniques and compatible lubes for your chosen switches.
- Adding mods: Explore customization options like custom cables, dampeners for reduced sound, or o-rings for a softer keystroke feel.
- Software programming: Some keyboards allow customizing key functions and macros using software provided by the manufacturer.
Step 5: The Grand Finale – Typing Bliss!: Custom Keyboard
Plug in your creation, admire your handiwork, and experience the joy of typing on a keyboard that’s truly yours. Remember, practice makes perfect, so spend some time getting used to your unique creation.
Bonus Tips: Custom Keyboard
- Start small: If you’re a beginner, consider a hot-swappable keyboard kit, allows you to experiment with different switches without soldering.
- Join the community: Online forums and communities like r/MechanicalKeyboards are amazing resources for learning, troubleshooting, and getting inspired.
- Most importantly, have fun! Building a custom keyboard is a journey of exploration and self-expression. Enjoy the process and create a keyboard that truly reflects your individuality.
- Start with a pre-built hot-swappable keyboard to test different switches before committing to a full build.
- Watch online tutorials and guides for visual assistance during the assembly process.
- Research and compare different components to find the best fit for your budget and preferences.
- Don’t be afraid to ask for help from the online keyboard community!


